DIY headband upgrade (🇵🇹 & 🇬🇧)
🇵🇹 Tudo começou com uma bandolete que se partiu numa das extremidades.
Como tenho esta tendência um bocadinho obsessiva de reutilizar, consertar e melhorar tudo, decidi dar-lhe uma segunda oportunidade.
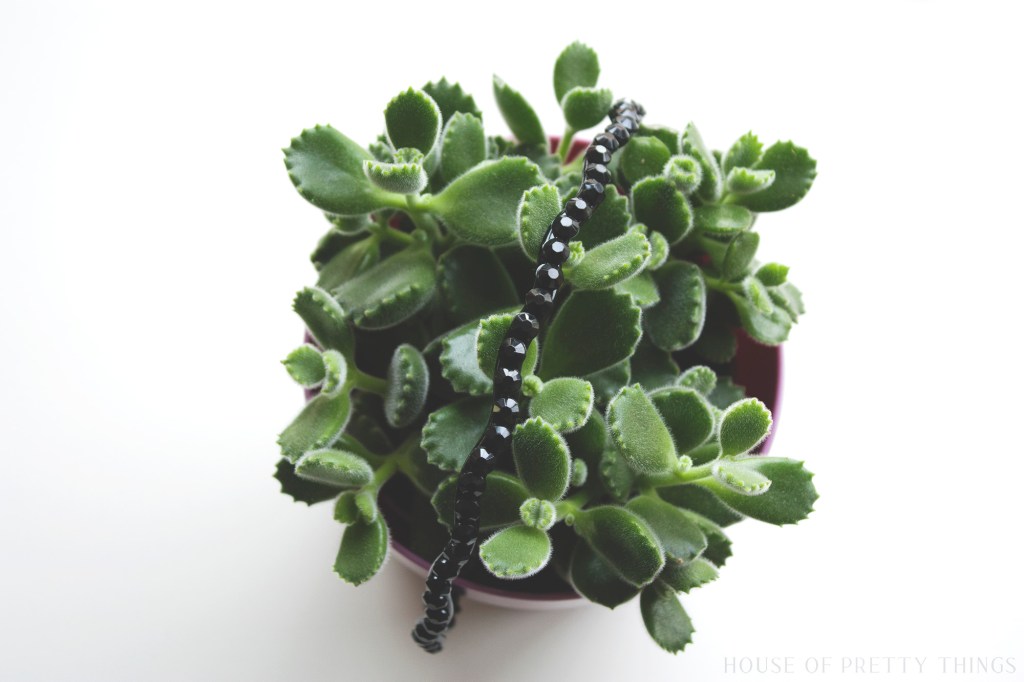
Depois de abrir algumas gavetas à procura de materiais que tivesse em casa, não só consegui reparar a parte partida como também lhe dei um upgrade!
Quer experimentar?
Basta seguir o tutorial ilustrado.

Esta é uma forma simples e rápida de dar um toque especial a um acessório que, de outra forma, provavelmente nunca mais iria usar.
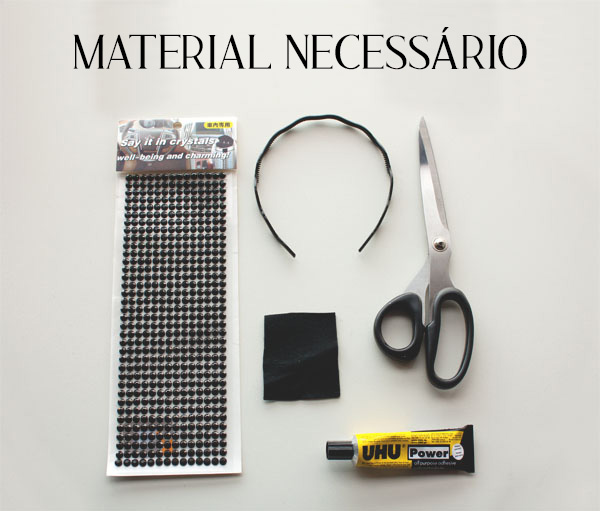
Materiais utilizados:
- Bandolete
- Tesoura
- Cola para tecido
- Feltro
- Brilhantes autocolantes
Experimente e conte-me nos comentários como ficou!
Se gostou, partilhe com alguém que também adore pôr mãos à obra. 🙂
🇬🇧 It all started with a headband that got broke at one of its ends.
Having this obsessive tendency to reuse/fix/recycle/improve everything, I decided to give it a second chance.
After opening a few drawers to see what materials I had at home, I not only fixed the broken end but also gave it an upgrade.
Want to give it a try?
Just follow the above illustrated tutorial.
Supplies needed:
- Headband
- Scissors
- Gabric glue
- Felt
- Adhesive rhinestones
This tutorial is a simple and quick way to add an extra touch to an accessory that, otherwise, would probably never be used again.
Give it a try and let me know how it turned out in the comments.
If you like it, feel free to share this post! 🙂


Leave a Reply