(🇵🇹 & 🇬🇧 )
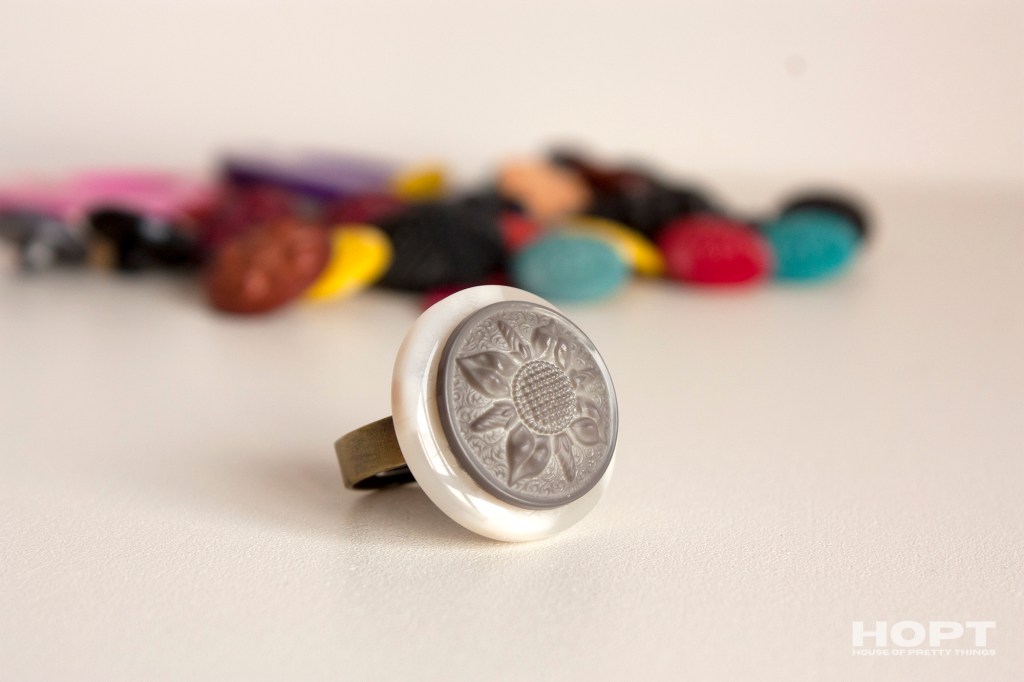
🇵🇹 Hoje proponho dar uma nova vida aos botões esquecidos na caixa de costura.
Com este pequeno projeto rápido e simples, vais transformá-los num anel único e cheio de personalidade.
Segue estes passos simples para criar uma peça de bijuteria com um toque artesanal.
Vais precisar de:
- Alguns botões (de tamanhos diferentes fica ainda mais giro!)
- Uma base de anel
- Pistola de cola quente
- X-ato

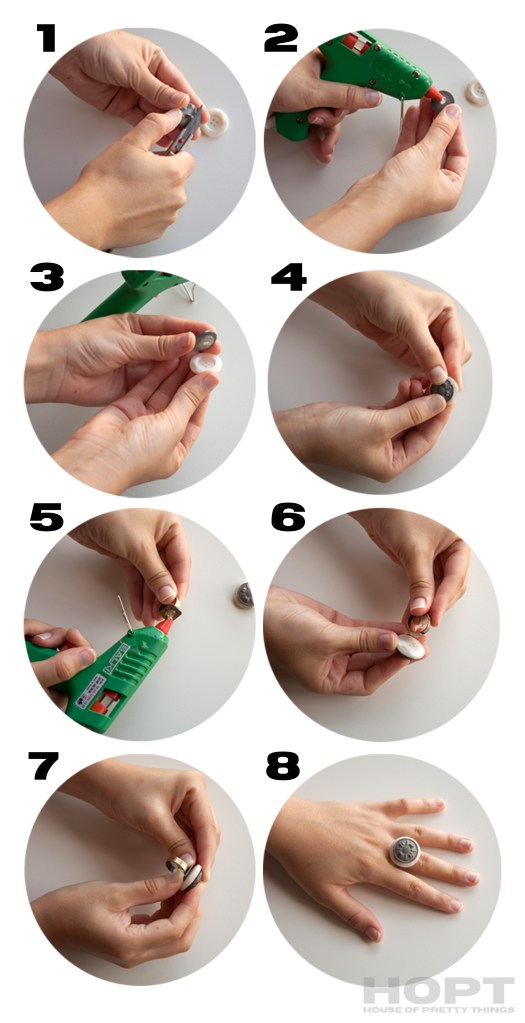
Instruções passo-a-passo
1. Usa o x-ato para retirar qualquer argola ou parte saliente do botão, para que fique plano.
2. Aplica uma pequena gota de cola quente na parte de trás do botão principal.
3. Cola-o sobre o centro de um segundo botão para criar um efeito em camadas.
4. Mantém pressionado durante alguns segundos até a cola secar.
5. Coloca mais uma gota de cola na base do anel.
6. Junta o conjunto de botões à base do anel com cuidado.
7. Pressiona ligeiramente e espera que a cola endureça.
8. Depois de seco, está pronto a usar! 🙂
Um projeto simples, com um toque vintage, perfeito para um fim de tarde criativo.
🇬🇧 Give a second life to those lovely buttons hiding in your sewing box! This quick and charming DIY will turn them into a statement ring that’s truly one of a kind. Follow these simple steps and create your own little piece of wearable art.
You’ll need:
- A few buttons (different sizes work beautifully)
- A ring base
- Hot glue gun
- Cutter
How to make it:
1. Use the cutter to remove any shanks or raised backs from your button so it sits flat.
2. Apply a small drop of hot glue to the back of your top button.
3. Press it firmly onto the centre of a second button to create a layered effect.
4. Hold them together for a few seconds until the glue sets.
5. Add another drop of glue to the ring base.
6. Carefully attach your stacked buttons onto the ring base.
7. Press gently and hold for a few seconds while the glue hardens.
8. Once dry, it’s ready to use! 🙂
A perfect afternoon craft, with a touch of vintage charm.


Leave a comment